If you are using the google app engine you might get this message from the google.
Hello Cloud Datastore Customer,
We're writing to let you know that the Datastore Admin backup feature is being phased out as of February 28, 2018, in favour of the generally available managed export and import for Cloud Datastore. Please migrate to the managed export and import functionality at your earliest convenience. To help you make the transition, Datastore Admin will continue to be available over the next 12 months prior to the shutdown date of February 28, 2019.
[ I am showing the steps described by the google at this link. Scheduled-export ]
Enable the billing for google cloud service
Ensure that you are using a billable account for your GCP project. Only GCP projects with billable accounts can use the export and import functionality.
You can Set your billing details at console.cloud.google.com/billing
 |
| Make sure about billing details |
Create a bucket for backup
Create a bucket inside cloud storage for your project.[ where you want to export your datastore backup]
 |
| Go to storage in the cloud console |
You can find the storage in the sidebar of the console.
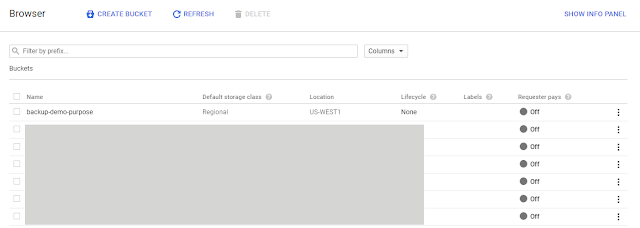
Create a new bucket where you want to export the datastore backup. and make sure bucket type is regional or multi-regional. and the location is the same where you project is hosted for me its us-central-1
Schedule export does not support the cold line or near line for schedule export.
 |
| Create a backup bucket |
Assign the Cloud Datastore Import Export Admin role
Assign the roleCloud Datastore Import Export Admin to the App Engine default service account. The role can be assigned from the IAM & Admin Section of the cloud console
 |
| Assing role of cloud datastore import export admin IAM & Admin in the google cloud console |
Give write permission to the AppEngine default service account
Give write permission to the AppEngine default service account on your backup bucket.You can set permission for a bucket from the storage section in the cloud console. |
| Give-write-permission-to-app-engine-default-account-on-bucket |
Copy Application [ Service ] Files From Google Cloud Doc
Copy this three file from the Google Cloud doc as it is.- app.yaml
- cloud_datastore_admin.py
- cron.yaml
Update only url and schedule in the cron.yaml according to your need.
url: /cloud-datastore-export?namespace_id=&output_url_prefix=gs://BUCKET_NAME
In our case
url: /cloud-datastore-export?namespace_id=&output_url_prefix=gs://backup-demo-purpose
Deploy the service
Deploy the service through the gcloud.
[ It was failing when i was using app engine to deploy]
cmd : gcloud app deploy app.yaml cron.yaml
In case you have multiple projects you can use --project to deploy service to the specific project
cmd : gcloud app deploy app.yaml cron.yaml --project=demo-project
[ It was failing when i was using app engine to deploy]
cmd : gcloud app deploy app.yaml cron.yaml
In case you have multiple projects you can use --project to deploy service to the specific project
cmd : gcloud app deploy app.yaml cron.yaml --project=demo-project
Verify Deployment
Make sure that service is working. After deployment of the app you will be able to see the job inside your projects Appengine > Task queues > crons
Run the cron ( using the run button at this time for testing) to verify and make sure status is Success
 |
| Cron-job inside task queue section |


Comments
Post a Comment