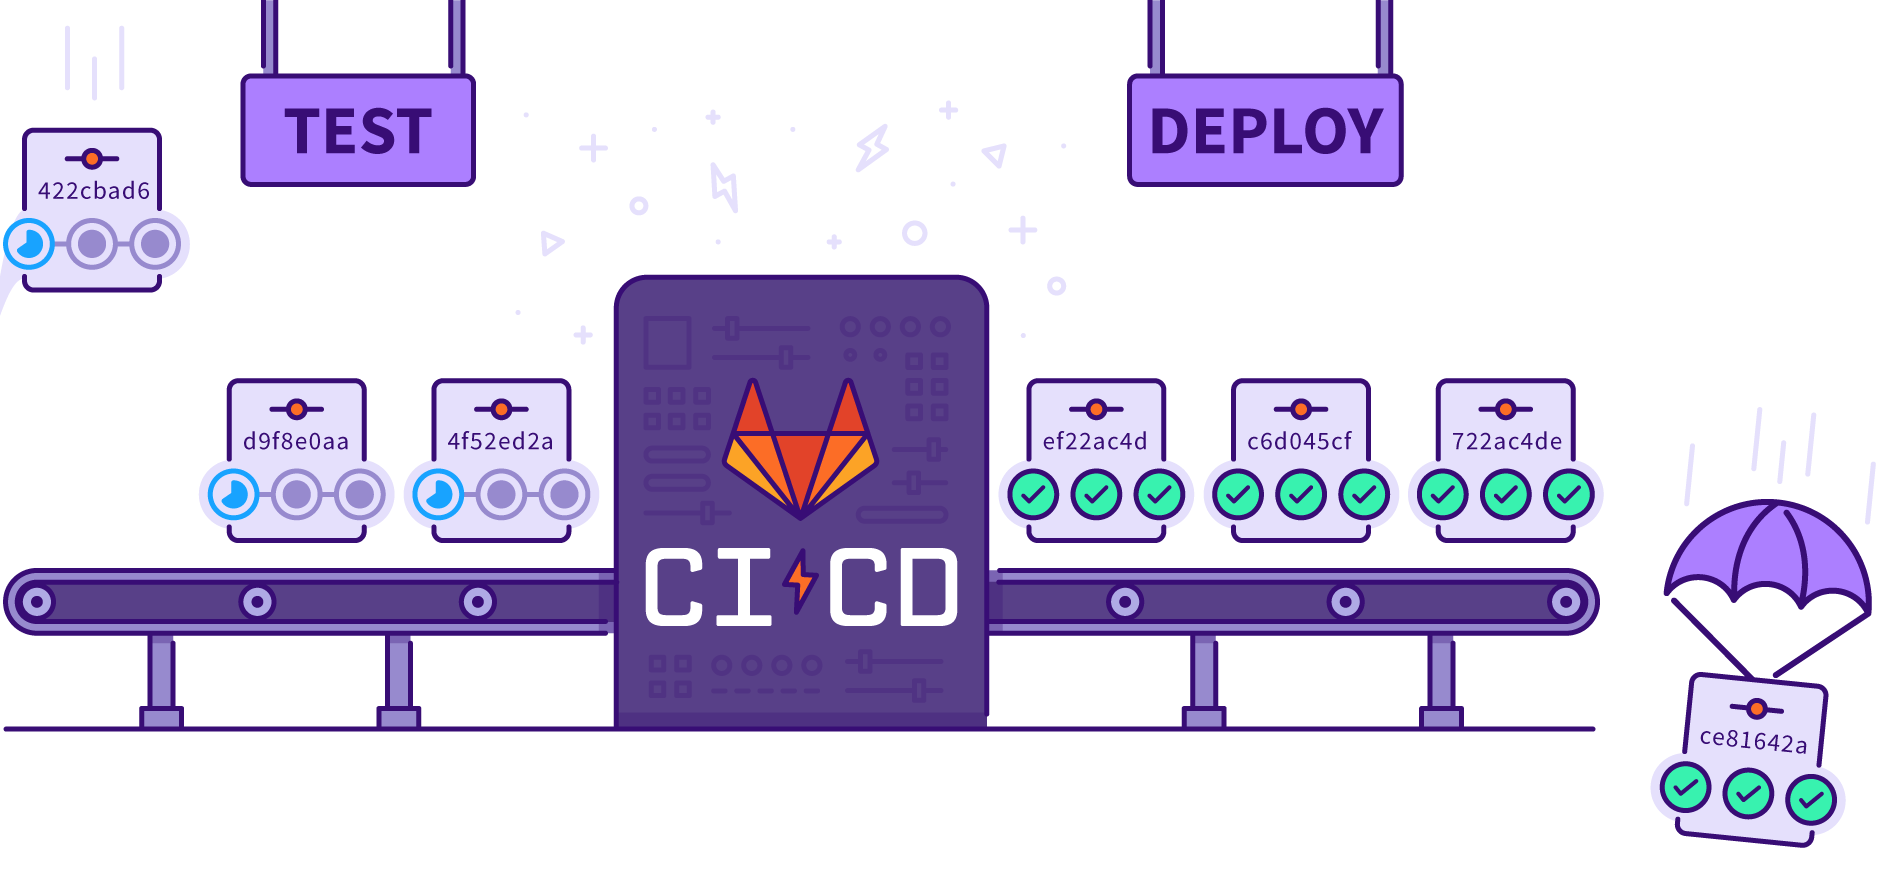
CI/CD stands for continues integration, continuous deployment.
Normally, I am hosting my private projects on Gitlab. One of my project is implemented on google's firebase platform. It's using firebase functions, hosting, pub-sub and other google service heavily.
Like, I want to deploy only hosting, I will say
$ firebase deploy --only hosting
Or, If I want to deploy only function
$ firebase deploy --only functions
Or more precisely, I want to deploy only a particular function.
$ firebase deploy --only functions:[function-name]
But, as the project started to grow, this approach started showing issues in integration.
Local version were working fine while deployment were showing issues. Why ? . Because, the approach of deploying only services that has been touched was depending on the list of deployment. If that list misses something, depending services will generate false results and in worst case, It might brake other dependent services as well.
Though due to workflow of multiple tests before moving on, we were able to rectify the missing service, it was stretching the process of deployments to several hours before we can confirm success of the deployment.
Our full deployment is taking 9-15 minutes, which is higher then specific deployment ( 3-5 minutes ), But less then time was spent to confirmation the validation of deployment (15 minutes to several hours if test results were false positive)
It saved us from the loop of
test -> rectify missing service -> deploy service -> test
Why I needed CI/CD ? 🤔
Initially, there was hosting and very few firebase functions to handle. It was giving me option to deploy that particle service.Like, I want to deploy only hosting, I will say
$ firebase deploy --only hosting
Or, If I want to deploy only function
$ firebase deploy --only functions
Or more precisely, I want to deploy only a particular function.
$ firebase deploy --only functions:[function-name]
But, as the project started to grow, this approach started showing issues in integration.
Local version were working fine while deployment were showing issues. Why ? . Because, the approach of deploying only services that has been touched was depending on the list of deployment. If that list misses something, depending services will generate false results and in worst case, It might brake other dependent services as well.
Though due to workflow of multiple tests before moving on, we were able to rectify the missing service, it was stretching the process of deployments to several hours before we can confirm success of the deployment.
CI/CD as Solution 👊
As a solution for the problem of integration, we moved to GitLab CI/CD. Meaning, now we were making full deployment of all services which were used while development phase.Our full deployment is taking 9-15 minutes, which is higher then specific deployment ( 3-5 minutes ), But less then time was spent to confirmation the validation of deployment (15 minutes to several hours if test results were false positive)
It saved us from the loop of
test -> rectify missing service -> deploy service -> test
It also saved me from making manual deployments, we are using merge event on specific branch to trigger CI/CD. ✌
Comments
Post a Comment